
Table of Contents
- Diagnose the Source of Your Coop Odor
- How to Stop Chicken Coop Ammonia Smell
- Choose the Right Chicken Coop Bedding for Odor Control
- Improve Chicken Coop Ventilation
- How Often to Clean a Chicken Coop
- Step-by-Step Cleaning and Maintenance Schedule
- Frequently Asked Questions
Last Updated: October 11, 2026
Diagnose the Source of Your Coop Odor
The first step to fix backyard coop odor is understanding where it's coming from. Different smells point to different problems, and each one has a specific fix. Use this diagnostic guide to identify your odor type, locate its source, and choose the right remedy.
Ammonia smell from droppings
Ammonia smell comes from chicken droppings breaking down in wet or poorly ventilated spaces, where moisture traps waste and prevents air circulation.
How to identify ammonia odor:
- Sharp, chemical-like smell (similar to urine or cleaning products)
- Strongest near the coop floor, under roosting bars, or in nesting boxes
- Worse in the morning or after rain
- Noticeable within 5 feet of the coop entrance
High ammonia levels irritate respiratory systems and cause illness at concentrations as low as 25 ppm, below what humans can easily smell, so act before odor becomes obvious.
Quick diagnostic test: If bedding looks wet or feels damp to the touch, and you smell ammonia, moisture is the immediate culprit. Check ventilation next; if vents are blocked or too small, air isn't carrying ammonia away.
Damp, moldy bedding odor
A musty, moldy smell means moisture is trapped in bedding due to spilled water, poor drainage, inadequate ventilation, infrequent changes, or roosting bars directly above bedding without a barrier.
How to identify mold odor:
- Earthy, musty, or "basement-like" smell
- Visible white, green, or black fuzz on bedding or wood surfaces
- Smell is strongest in corners or under roosting areas
- Bedding clumps together or feels spongy
Moldy bedding harbors harmful bacteria and fungal spores like Aspergillus that cause respiratory disease (pubmed.ncbi.nlm.nih.gov). Remove affected bedding immediately and improve drainage or ventilation.
Quick diagnostic test: Squeeze a handful of bedding. If water drips out or the material feels cold and damp, moisture is the problem. If bedding is dry but smells musty, mold is present even if you can't see it yet.
General staleness or dust odor in the run
Stale-air odor comes from poor airflow and accumulated dust from chicken feathers and scratching, which mixes with moisture.
How to identify stale-air odor:
- Dull, stuffy smell (not sharp or chemical)
- Noticeable when you open the coop door (fresh air makes it obvious)
- Dust visible in sunlight streaming into the coop
- No strong ammonia or mold smell, but the air feels "thick"
- More common in fully enclosed coops or runs with poor ventilation
Quick diagnostic test: Open all windows and vents for 5 minutes, then close them and re-enter. If the smell returns quickly, ventilation is inadequate. If it stays gone for hours, you've found your fix.
Where to look: coop floor vs. nesting boxes vs. outdoor run
Odor location narrows down the source:
- Coop floor and roosting area: Ammonia from droppings, or mold if bedding is wet
- Nesting boxes: Ammonia or mold from soiled nesting material; check for broken eggs or hidden dead birds
- Outdoor run: Stagnant water, muddy patches, or decomposing manure; sand runs smell less than dirt or wood-chip runs
- Under the coop: Moisture pooling, poor drainage, or manure buildup from droppings boards
Walk around your coop and note where the smell is strongest. Wet bedding = moisture problem. Visible mold = fungal problem. Dust and stale air = ventilation problem. Fix the strongest odor first, then address others.
How to Stop Chicken Coop Ammonia Smell
Ammonia control is the fastest way to improve coop conditions. The key is reducing moisture and increasing airflow so ammonia gas doesn't accumulate.
Chicken droppings contain uric acid (Composting chicken manure?). Bacteria break down uric acid into ammonia gas on damp bedding without air movement.
The fix has three parts: dry the bedding, move the air, and neutralize what's already there.
Add ventilation by opening windows, adding roof vents, or installing a small fan. Moving air carries ammonia out faster than it builds up.
Use a natural ammonia absorber. Arden Line's Chicken Coop Deodorizer is made from 100% natural zeolite mineral.

Choose the Right Chicken Coop Bedding for Odor Control
The bedding you choose makes or breaks your odor control. Some materials trap moisture and ammonia. Others stay dry and let odors escape.
Pine chips and wood shavings
Pine chips and wood shavings are cheap and absorbent but stay wet once saturated, breeding ammonia-producing bacteria and creating dust. Replace weekly or twice weekly and mix in zeolite to control ammonia.
Sand for the outdoor run
Sand drains well and doesn't absorb urine, so it stays drier than wood. Droppings dry faster on top. Rake regularly to expose waste to air. Sand is heavy to haul but outperforms wood for odor control in outdoor runs.
Deep litter method
The deep litter method layers fresh bedding over old without removing it, allowing microbes to break down waste. This works best in winter. In summer, it can trap moisture and worsen ammonia. Add zeolite between layers and turn weekly to keep it aerated.
Improve Chicken Coop Ventilation
Ventilation is non-negotiable. Without airflow, moisture and ammonia concentrate regardless of bedding. But poor placement or oversizing can create drafts that stress your flock.
How ventilation removes odor
Ventilation creates a natural draft: cool, fresh air enters low, warms up, becomes lighter, and rises out through high vents, pulling ammonia and moisture out continuously. Without it, ammonia concentrates near roosting areas where birds spend 12+ hours daily.
Vent sizing: the 1-square-foot-per-3-birds rule
A common guideline is 1 square foot of vent space per 3-4 birds. This means:
- 4 birds: 1-1.3 sq ft of total vent area
- 6 birds: 1.5-2 sq ft
- 8 birds: 2-2.7 sq ft
- 10 birds: 2.5-3.3 sq ft
- 12 birds: 3-4 sq ft
This is a minimum for odor control. In hot, humid climates or coops with poor natural airflow, add 25-50% more vent area. In cold climates, you can use the minimum but must ensure vents are positioned to avoid drafts on roosting birds.
Calculate vent area by measuring width and height in inches, multiplying them, dividing by 144, and adding all vents together.
Vent placement: high intake, high exhaust
Place intake vents low on one side (6-12 inches above floor, 4×4 or 6×6 inches) away from roosting bars. Place exhaust vents high on the opposite side (12×12 inch or two 8×8 inch vents) to create a cross-draft that sweeps the entire coop. Opposite placement prevents air stagnation in corners.
Position roosting bars away from direct vent openings. If unavoidable, use adjustable louvers or baffles to direct air upward and away from birds.
Seasonal vent adjustment
Spring/summer: Open all vents fully and add a small fan in hot weather. Fall/winter: Keep vents open but monitor for drafts; reduce vent size if birds huddle. Never seal the coop, maintain ventilation positioned high and away from roosting areas. Bird body heat keeps well-insulated coops warmer than expected.
Humidity check: If bedding stays damp or frost builds up inside the coop in winter, ventilation is inadequate. Add vents or increase vent size.
Types of vents and how to install them
Fixed vents (drill holes, cover with hardware cloth, $0-$5) are simplest. Hinged vents ($15-$40) allow winter closure. Automatic openers ($40-$80) adjust with temperature. For most backyard coops, fixed vents plus one or two hinged vents are sufficient and affordable.
Keep vents clear year-round
Blocked vents do nothing. Check them monthly and remove:
- Dust and cobwebs
- Bedding that's been kicked up
- Snow or ice (in winter)
- Predator-exclusion netting that's sagged
If vents are hard to access, install them in easy-to-reach locations or use a brush to clean them from outside.
Ventilation + bedding + cleaning = the complete odor solution
Ventilation alone won't fix a coop with wet bedding or infrequent cleaning. The three work together: ventilation removes ammonia, dry bedding prevents ammonia from forming, and regular cleaning removes the source (manure). Improve all three for best results.
How Often to Clean a Chicken Coop
Cleaning frequency depends on coop size, flock size, and bedding type. Smaller coops with more birds need more frequent cleaning.
General guidelines:
- Tiny coops (under 20 sq ft, 4-6 birds): Full bedding change weekly; spot-clean daily
- Small coops (20-40 sq ft, 6-10 birds): Full change every 10-14 days; spot-clean twice weekly
- Larger coops (40+ sq ft, 10+ birds): Full change every 2-3 weeks; spot-clean weekly
These are minimums. If bedding smells or looks wet, change it sooner.
Step-by-Step Cleaning and Maintenance Schedule
A consistent routine prevents odor problems before they start. Here's exactly what to do and when.
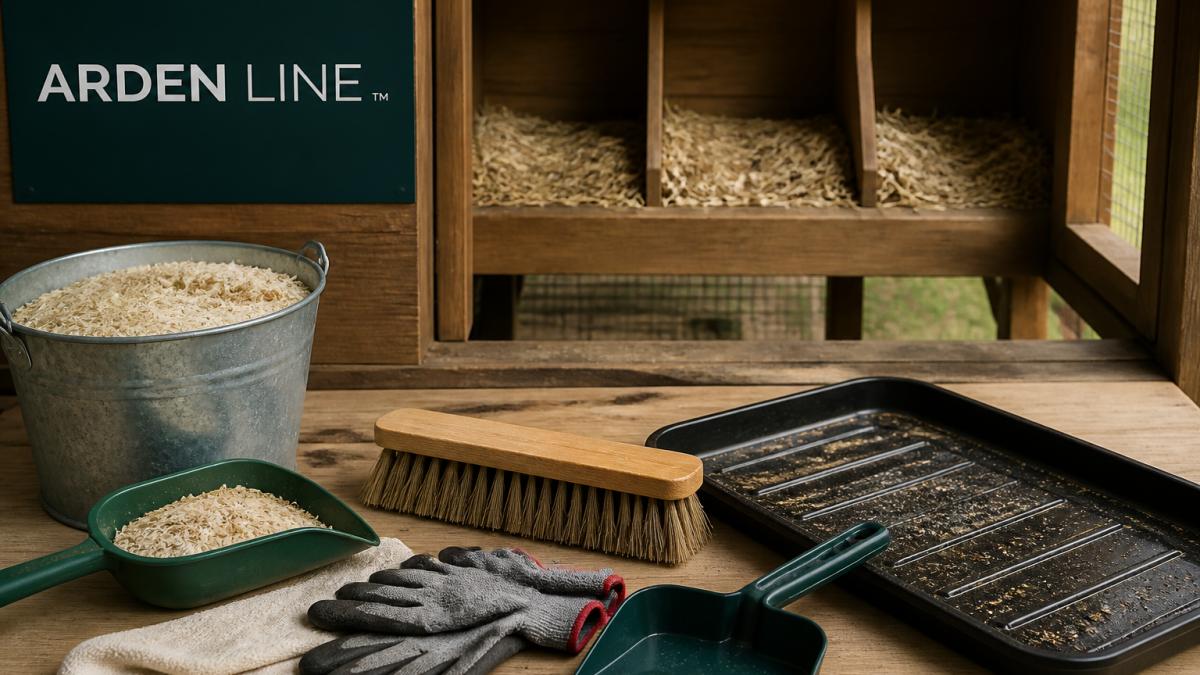
Daily spot-cleaning routine
Time: 5-10 minutes
- Check nesting boxes for soiled bedding and remove it
- Sweep or rake the coop floor to expose clumped droppings
- Remove visible piles of wet or soiled bedding
- Refill water and check for spills
- Sprinkle zeolite over wet spots and high-traffic areas
This quick daily work keeps ammonia from building up between full cleanings.
Weekly deep clean
Time: 30-45 minutes
- Remove all bedding from the coop and run
- Sweep the floor clean of dust and debris
- Wipe down nesting boxes with a dry cloth
- Check for moisture under the coop, rake or till if needed
- Add fresh bedding, starting with a base layer of zeolite
- Top with your chosen bedding material (pine chips, sand, or straw)
Weekly deep cleaning prevents the moisture and ammonia problems that build up over time.
Monthly and seasonal tasks
Once a month:
- Inspect vents and clean out dust or blockages
- Check for gaps or cracks that let rain in
- Look for signs of mold or mildew on wood surfaces
Spring and fall:
- Deep clean and disinfect roosting bars and perches
- Check drainage around the coop, improve if water pools
- Repair any ventilation issues before summer heat or winter moisture
Before winter:
- Ensure ventilation is adequate for cold, damp months
- Add extra bedding to help insulate and absorb moisture
- Use zeolite regularly to prevent ammonia buildup in enclosed spaces
Backyard coop odor is frustrating, but it's also preventable. The combination of good ventilation, dry bedding, and regular cleaning solves most problems. When moisture and ammonia start to build up, a natural mineral deodorizer like Arden Line's Chicken Coop Deodorizer stops them at the source, without chemicals or artificial fragrances. Add it to your weekly routine and your flock will have a cleaner, healthier home. Get started with Arden Line Chicken Coop Deodorizer and eliminate ammonia naturally.
Frequently Asked Questions
Why does my chicken coop smell like ammonia?
Ammonia smell comes from chicken droppings breaking down in wet or poorly ventilated bedding. Moisture traps ammonia gas, creating that strong, pungent odor. The more birds you have in a confined space with inadequate airflow, the faster ammonia builds up. Using absorbent bedding and improving ventilation reduces moisture and lets ammonia escape before it concentrates.
How do I know if my coop has a moisture problem versus an ammonia problem?
Ammonia smells sharp and stinging, while moisture issues create a musty, moldy odor. If bedding feels wet or clumpy, moisture is the culprit. If the smell is overpowering even in a dry coop, ammonia is building up faster than ventilation can clear it. Often both occur together. Check bedding texture first, then assess airflow and drainage around your coop and run.
Will zeolite work in my small backyard coop with just a few chickens?
Yes. Zeolite works at any flock size because it absorbs ammonia and moisture directly from bedding and droppings, not by volume. A small coop with 8 chickens benefits just as much as a larger operation. The key is consistent application. Sprinkle zeolite over soiled bedding during spot-cleaning and refresh it with each full bedding change for best results.
How long does one bag of coop deodorizer last?
A 12 lb bag of Arden Line Zeolite Coop Deodorizer typically lasts 4-8 weeks for a small backyard coop (6-10 birds), depending on how often you clean and how much you apply. Heavier use or larger flocks may need a refill sooner. Reapply weekly during spot-cleaning and refresh the entire coop floor when you change bedding. Actual duration depends on your maintenance routine and flock size.



Leave a comment
This site is protected by hCaptcha and the hCaptcha Privacy Policy and Terms of Service apply.