
Table of Contents
- Why Natural Chicken Coop Cleaning Supplies Matter
- How to Clean a Chicken Coop Naturally: Step-by-Step
- Managing Chicken Coop Moisture Year-Round
- The Best Chicken Coop Deodorizer: What to Look For
- Homemade Recipes vs. Mineral-Based Supplies
- Safety and Environmental Considerations
- Frequently Asked Questions
Last Updated: September 23, 2026
Why Natural Chicken Coop Cleaning Supplies Matter
Ammonia is the quiet problem in most backyard coops. It builds up fast in bedding, and it attacks your flock's respiratory health long before you notice a smell. That's why natural chicken coop cleaning supplies matter: they remove the source of the problem instead of covering it up with perfume.
Most commercial cleaners mask odor with fragrance. The ammonia is still there. Your birds are still breathing it.
At Arden Line, we hear from keepers who clean every week and still fight that sharp, eye-stinging smell. The fix isn't more scrubbing. It's using supplies that actually trap ammonia and moisture.
Ammonia and Your Flock's Respiratory Health
Chickens have a highly sensitive respiratory system. Ammonia gas irritates the lining of their airways, and prolonged exposure leaves them open to infection.
The tricky part is that you can't always smell dangerous levels. A coop can carry harmful ammonia while still smelling "fine" to a human nose.
Watch for these warning signs instead:
- Watery or irritated eyes
- Sneezing, wheezing, or rattling breath
- Birds avoiding certain areas of the coop
- Damp, matted bedding under roosting bars
Good ventilation helps. So does removing droppings often. But the real key is stopping ammonia at the source before it becomes a gas.
How to Clean a Chicken Coop Naturally: Step-by-Step
Here's the full process for how to clean a chicken coop naturally. It takes about 45 minutes for a small backyard coop, and most of that is drying time. The steps below are the same for every coop, but the way you treat wood, plastic, and metal surfaces differs, and getting that wrong is how coops rot, warp, or rust.
Total Time: 45-60 minutes Difficulty: Beginner
What You'll Need Before You Start
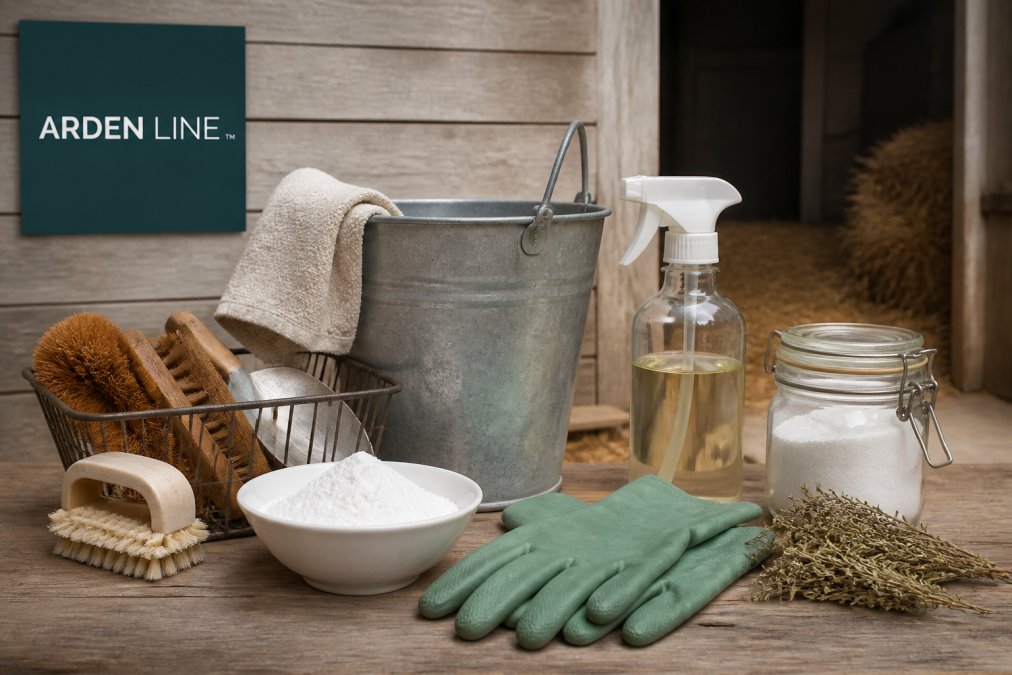
Gather your supplies first so you're not running back to the shed mid-clean:
- Rubber gloves and a dust mask
- A stiff scrub brush (a soft brush for plastic and painted surfaces)
- Warm water and white vinegar
- A spray bottle
- A bucket
- Fresh bedding
- A natural mineral deodorizer like zeolite
- A putty knife or plastic scraper for dried droppings
Step 1: Clear Out the Old Bedding
Remove all bedding and droppings. Scrape the roosting bars and coop floor into a waste bin. This is where most of the ammonia lives, so don't rush it. Pay extra attention to the corners and the space directly under the roosting bars, that's where droppings concentrate overnight and where ammonia builds first.
Step 2: Scrub Surfaces, By Material
Mix equal parts white vinegar and warm water in your bucket. Vinegar cuts through dried droppings and kills many surface germs. How you scrub depends on what your coop is made of:
- Wood: Wood is porous, so it holds moisture and odor. Scrub with the grain using a stiff brush, then let it dry fully before adding bedding. Never soak wood, repeated soaking leads to rot and warping. A light scrub and thorough dry-down is better than a heavy wash.
- Plastic: Plastic is non-porous and easy to clean, but it scratches. Scratches harbor bacteria, so use a soft brush or cloth rather than a stiff scrub brush. Vinegar is safe on plastic. Avoid abrasive cleaners that dull the surface.
- Metal: Metal can rust, especially at welds and seams. Wipe rather than soak, and dry immediately with a cloth. Vinegar is mildly acidic and can dull or pit some metals over time, so rinse well and dry thoroughly.
Step 3: Wipe Down and Let It Dry
Wipe surfaces with a clean cloth. Then let everything air-dry completely. Moisture is your enemy here. A damp coop grows bacteria fast. In humid weather, aim a fan at the coop or leave the door open on a dry, sunny day. Don't add bedding until every surface is dry to the touch.
Step 4: Reapply Bedding and Deodorizer
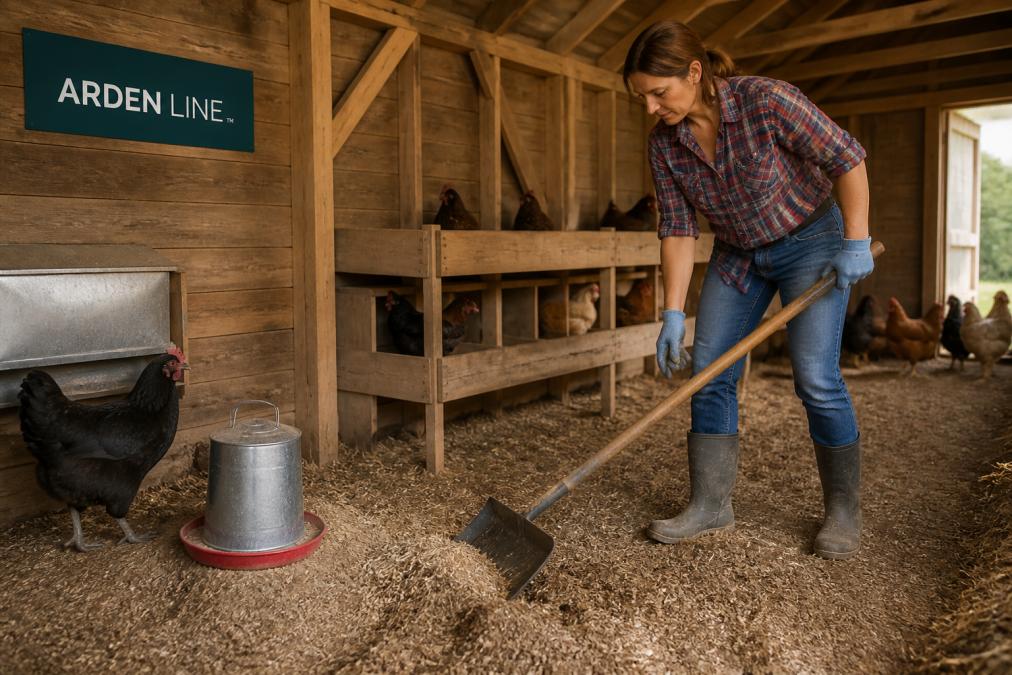
Add fresh bedding. Then sprinkle a natural mineral deodorizer over the floor and nesting boxes. This step is what keeps odor down between cleanings. Zeolite traps ammonia and moisture at the source, so it keeps working after the scrub is done.
Common Mistakes to Avoid
A common mistake is cleaning while birds are still inside. Fumes and dust bother their lungs. Move your flock to a run first.
Another is skipping the drying step. Damp bedding traps moisture and feeds ammonia.
A third is using the same heavy scrub on every surface. Stiff brushes scratch plastic and can damage painted wood, creating hiding places for bacteria. Match your tool to your material.
Managing Chicken Coop Moisture Year-Round
Moisture control is the difference between a fresh coop and a smelly one. Ammonia forms when droppings meet damp bedding, so keep things dry and you solve most odor problems.

Seasonal cleaning varies more than most guides admit:
| Season | Main Challenge | What to Do |
|---|---|---|
| Spring | Rain and mud | Add drainage, refresh bedding more often |
| Summer | Heat and humidity | Boost ventilation, use moisture-trapping minerals |
| Fall | Wet leaves, early damp | Clean gutters, keep bedding dry |
| Winter | Sealed-up coops | Manage moisture without cutting airflow |
The Best Chicken Coop Deodorizer: What to Look For
The best chicken coop deodorizer traps ammonia and moisture instead of hiding odor with scent. Look for a mineral-based product, not a perfumed spray.
Here's what separates good options from weak ones:
- Fragrance-free: Perfume masks odor and adds chemicals your birds breathe
- Mineral-based: Zeolite and similar minerals absorb ammonia at the source
- Safe for poultry: Must be non-toxic if birds peck or scratch at it
- Moisture-absorbing: Dry bedding means less ammonia
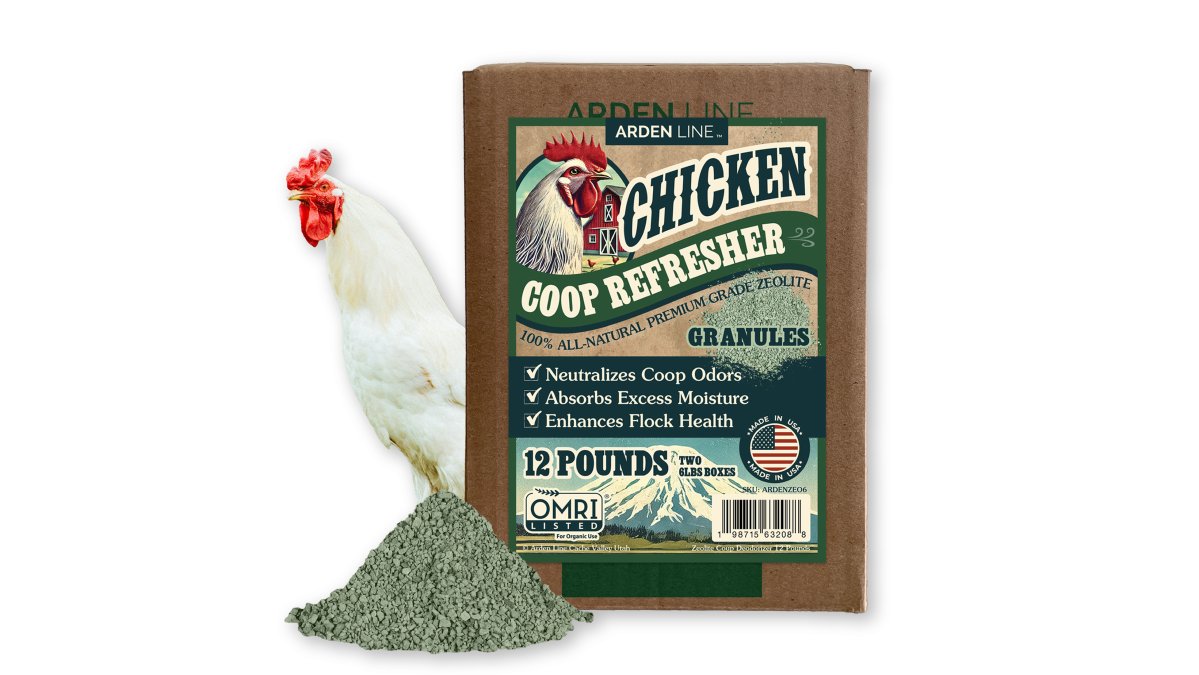
[Arden Line's Chicken Coop Deodorizer](https://ardenline.com/products/chicken-coop-deodorizer) is 100% natural zeolite, a porous volcanic mineral that traps ammonia gas and moisture. It's fragrance-free and safe to use around your flock every day. Sprinkle it over floors, bedding, and nesting boxes, then refresh with each bedding change.
Homemade Recipes vs. Mineral-Based Supplies
Homemade cleaners are great for scrubbing. Mineral supplies are better for ongoing odor control. Most keepers need both.
White vinegar, apple cider vinegar, and citrus peels are the backbone of DIY coop cleaners. They cut grease and grime and cost very little. But they don't trap ammonia once it's in the air.
That's the gap mineral products fill. A natural mineral like zeolite adsorbs ammonia and moisture and holds onto them. It's a different job than scrubbing.
So think of it this way:
- Vinegar and citrus: for cleaning surfaces and nesting boxes
- Minerals: for deodorizing and moisture control between cleanings
Neither one replaces the other. Use them together and you cover both the mess and the smell.
Safety and Environmental Considerations
Natural doesn't automatically mean safe. Two areas deserve real caution: essential oils and runoff. Most guides gloss over both, but getting them wrong can harm your flock or your soil.
Essential Oils: A Real Respiratory Risk
Many essential oils are marketed as coop-safe, but concentrated oils can irritate a chicken's respiratory system. Birds have a highly efficient, one-way airflow system with air sacs throughout their body, which means they absorb airborne compounds far more readily than mammals do. What smells pleasant to you can be a lung irritant to a hen.
Oils commonly suggested for coops, rosemary, thyme, eucalyptus, tea tree, oregano, and citrus, are among the most likely to cause irritation when diffused or sprayed in an enclosed space.
If you use oils at all:
- Dilute heavily, a few drops per quart of water, not per cup
- Never diffuse or spray in a closed coop with birds inside
- Ventilate thoroughly and let surfaces dry before birds return
- Skip oils entirely for chicks, molting birds, or any bird with respiratory symptoms
Runoff: Where Your Wash Water Goes
Whatever you wash out of the coop ends up in your soil and water. Vinegar and mineral products break down far more gently than bleach or harsh disinfectants. That's a real advantage for anyone composting bedding or feeding a garden.
But even gentle cleaners deserve thought:
- Don't dump wash water directly onto vegetable beds or near wells, streams, or storm drains
- Dump it on ornamental plantings, gravel, or a designated drain field instead
- If you've used any disinfectant, check the label, many are toxic to aquatic life and should not reach waterways
- Compost bedding separately from wash water, and let compost heat fully before using it on food crops
Cleaning vs. Sanitizing
There's also a difference between cleaning and sanitizing. Cleaning removes dirt and droppings. Sanitizing reduces germs.
Frequently Asked Questions
What is a good homemade cleaning solution for a chicken coop?
A simple mix of white vinegar and water works well for wiping down surfaces and roosting bars. For deeper odor control, sprinkle a mineral-based deodorizer like zeolite over bedding to trap ammonia and moisture at the source. Avoid bleach-based products inside the coop because fumes linger and can irritate your flock's respiratory system. Always let surfaces dry fully before returning birds.
What are some natural deodorizers for a chicken coop?
Zeolite, a porous volcanic mineral, adsorbs ammonia gas and moisture instead of masking odors with fragrance. Arden Line's Chicken Coop Deodorizer uses 100% natural zeolite and is safe to sprinkle directly on bedding, nesting boxes, and floors.
Is vinegar safe to use for cleaning a chicken coop?
Yes, diluted white vinegar is safe for cleaning coop surfaces, roosting bars, and nesting boxes. It cuts through droppings residue and mild odors without leaving toxic residue. Let treated surfaces dry completely before your birds return, and avoid mixing vinegar with other cleaners. For ongoing ammonia control between deep cleans, pair vinegar wiping with a mineral deodorizer.
How often should I reapply a natural coop deodorizer?
Reapply whenever you notice odor returning or bedding feels damp, typically every 1-2 weeks depending on flock size and ventilation. Refresh the mineral layer with each full bedding change, and spot-treat high-traffic areas like under roosting bars more frequently.

Leave a comment
This site is protected by hCaptcha and the hCaptcha Privacy Policy and Terms of Service apply.