
Table of Contents
- Why Dry Climates Make Coop Dust Worse
- Chicken Coop Ventilation for Dust Control
- Best Bedding for Dusty Chicken Coops
- Managing Ammonia in Dry Chicken Coops
- Step-by-Step: Daily and Weekly Dust Routine
- DIY Coop Modifications That Cut Airborne Dust
- Common Mistakes When Managing Coop Dust
- Conclusion
- Frequently Asked Questions
Last Updated: September 30, 2026
Why Dry Climates Make Coop Dust Worse
Dry air holds more loose particles, and that is the core problem behind coop dust in dry climates. With little humidity to weigh particles down, fine dust stays airborne longer and travels farther through your flock's breathing space.
What's Actually Floating in Your Coop Air
Coop dust is a mix of dried droppings, feather fragments, skin flakes, feed particles, and bedding fibers. Each source adds to the total particulate load.
- Feather dust and skin flakes from molting birds
- Dried droppings that crumble into fine powder
- Feed dust from crumbles and pellets
- Bedding fibers from straw, shavings, or hay
Chicken Coop Ventilation for Dust Control
Good chicken coop ventilation for dust control replaces stale, particle-heavy air with fresh air. The goal is steady air exchange, not a draft across the roost.

- High vents near the roofline let hot, dusty air escape
- Low vents pull in fresh air at floor level
- Adjustable openings let you change airflow by season
Cross-Ventilation Without Losing Heat
Cross-ventilation moves air in one side and out the other. In cold months, keep the airflow above the birds so they stay warm.
- Place intake vents on the sheltered side, away from prevailing wind
- Keep exhaust vents high and opposite the intake
- Never seal a coop tight to "keep heat in." Trapped air traps dust too
Best Bedding for Dusty Chicken Coops
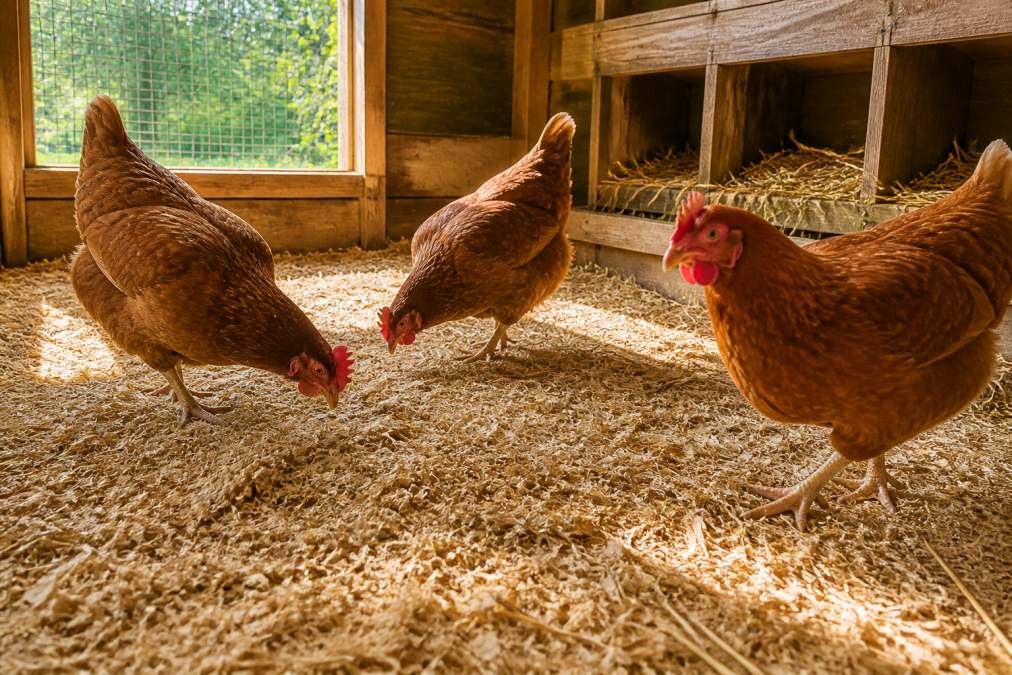
The best bedding for dusty chicken coops is large-flake material that resists crumbling into powder. In a dry climate, what matters is how it behaves once dry, because dry bedding is what turns into airborne particulate.
How the Main Bedding Materials Compare
- Large-flake wood shavings (pine or aspen): The default choice for dry coops. Flakes resist crumbling, mat down to trap droppings, and do not shatter into dust like fine shavings. Refresh the top layer when it looks powdery.
- Chopped straw: Low upfront dust and cheap, but it holds moisture unevenly. In a dry coop it rarely molds on its own, but a waterer leak can create a damp pocket that does. Break up clumps weekly.
- Shredded paper: Very low dust and easy to source, but it compacts fast and loses loft. Best as a thin top layer over shavings, not a standalone bedding.
- Sand: Heavy, essentially dust-free, and easy to sift like cat litter. The trade-off is weight on the floor structure and a gritty texture some birds dislike. Works best on a solid, reinforced floor.
- Hemp bedding: Highly absorbent and low dust, but the highest cost per cubic foot of the group. Worth it in small coops where you change bedding often.
- Rice hulls: Light, low dust, and drain well. They blow around in a drafty coop, so pair them with baffled vents.
Avoid fine sawdust, dusty hay, and any bagged material that puffs a visible cloud when you pour it. In a dry climate these stay suspended far longer than in humid air.
Match Bedding to Your Floor Type
Bedding depth and material should change with what is underneath it:
- Bare dirt floor: Use a deeper layer (4 to 6 inches) of large-flake shavings. The dirt below wicks moisture away, so go lighter on absorbency and heavier on dust suppression.
- Covered dirt floor: A vapor barrier under the bedding keeps ground moisture from wicking up and the litter from turning to powder. Two to three inches of shavings is usually enough.
- Wood or plywood floor: Seal the surface first. Unsealed wood absorbs moisture, then dries and flakes, adding its own dust to the load. Use 3 to 4 inches of shavings.
- Concrete floor: The easiest surface to keep dust-free because it does not contribute particles. A thinner layer (2 to 3 inches) works because the concrete handles the moisture side.
Deep Litter Method in Dry Climates
The deep litter method works differently in dry climates. Without moisture, litter will not compost as it does in wet regions, so treat it as a managed bedding system rather than a compost pile.
- Turn the litter weekly to break up clumps and redistribute moisture
- Add a thin layer of fresh bedding as needed rather than a thick dump
- Watch for ammonia, because dry litter can still trap gas
- Keep a spray bottle handy for the rare dry pocket that needs a light mist, but never soak the litter
How Much Bedding to Use
A common mistake in dry coops is going too thin, thin bedding lets droppings hit the floor and dry into dust. Start with 3 to 4 inches and adjust based on how quickly the surface turns powdery. If you sweep visible dust every few days, add depth before you add cleaning frequency.
Managing Ammonia in Dry Chicken Coops
Managing ammonia in dry chicken coops is harder than it sounds. Dry air does not carry ammonia away the way humid air does. It concentrates it.
- Ventilate to push gas out of the coop
- Keep bedding dry so droppings do not break down fast
- Add a mineral layer that traps ammonia at the source
Step-by-Step: Daily and Weekly Dust Routine
A steady routine beats occasional deep cleans. Here is a simple schedule that keeps coop dust under control.
| Task | Frequency | Time Needed |
|---|---|---|
| Spot-clean droppings | Daily | 5 minutes |
| Stir and top off bedding | Every 2-3 days | 10 minutes |
| Check vents and airflow | Weekly | 5 minutes |
| Full bedding refresh | Every 2-4 weeks | 30 minutes |
| Deep clean and sanitize | Seasonally | 1-2 hours |
Dust Bath Maintenance and Coop Flooring Choices
Dust baths are a key dust source, but you cannot skip them. Chickens need them for feather health and natural pest control.
- Place dust baths away from the coop entrance
- Refresh the dust material when it gets packed down
- Choose a container with low sides so birds can step in easily
DIY Coop Modifications That Cut Airborne Dust
Most dust guides stop at "ventilate more," but ventilation alone just moves dust around. To actually reduce airborne particles, change how air enters, how it travels through the coop, and where particles land.
Add Baffled Intake Vents
A straight-in vent dumps outside air onto the birds and kicks up floor dust. A baffle forces incoming air to change direction, slowing it so heavier particles drop out before the air reaches the flock.
- Build a simple L-shaped baffle from scrap plywood and mount it a few inches inside the vent opening
- Angle the baffle so air is directed upward toward the ceiling, not across the floor
- Leave a gap of at least an inch on all sides so you do not choke the airflow
Install Dust-Trapping Filters on Intakes
A standard furnace filter over an intake vent catches a meaningful share of incoming particulate. Use the lowest MERV rating that still catches visible dust, because a high-MERV filter restricts airflow and can starve the coop of fresh air.
- Cut the filter to fit the vent opening and secure it with a removable frame so you can swap it out
- Check it monthly. In a dry climate it will load up faster than you expect
- Replace rather than vacuum, because vacuuming a loaded filter just releases the dust back into the air
Build a Dust Settling Chamber
A settling chamber is a short box or plenum between the intake and the coop interior where air slows and particles fall out of suspension before reaching the birds.
- A plywood box roughly 12 inches deep mounted outside the intake works well
- Line the bottom with a removable tray so you can dump collected dust
- Keep the interior smooth so dust does not cling to rough surfaces
Hang a Dust Curtain at the Door
A heavy fabric curtain across the doorway traps dust that would otherwise escape into your workspace and reduces the draft that stirs floor particles when you open the door. Canvas or a heavy moving blanket works well. Hang it in overlapping strips so birds can pass through but air cannot move freely.
Use an Exhaust Fan on a Timer
A small exhaust fan on a timer keeps a constant trickle of air moving without the on-off cycling that stirs up dust. Mount it high near the roofline where warm dusty air collects, and pair it with a low intake so airflow runs floor to ceiling.
Seal Gaps That Let Wind In
Every gap in the coop wall lets wind enter at floor level and kick up loose dirt and bedding. Walk the coop on a windy day and feel for drafts, then seal gaps with caulk, foam backer rod, or scrap wood.
Raise Feeders and Waterers
Feed dust from crumbles and pellets is a major contributor to airborne particulate. Raising feeders to chest height on a simple stand keeps birds from scratching feed into the bedding, where it dries and lifts, and it cuts waste too.
When to Add a HEPA Unit
A HEPA filtration unit helps in small coops, especially during molt when feather dust spikes. In larger coops, airflow and structural fixes matter more, because a single unit cannot move enough air to keep up. If you add one, place it near the roost where birds spend the most time breathing.
Common Mistakes When Managing Coop Dust
Most coop dust problems come from a handful of repeated errors. Watch for these.
- Sealing the coop too tight to keep heat in, which traps dust and ammonia
- Using fine bedding like sawdust that turns airborne fast
- Skipping the dust bath, which pushes birds to scratch dry dirt elsewhere
- Ignoring ammonia until it irritates your eyes, which means it is already harming your flock
- Cleaning only when it looks dirty instead of on a schedule
Conclusion
Dry-climate coops demand a different approach to dust than humid ones. The fix is not more cleaning. It is better airflow, the right bedding, and steady moisture and ammonia control.
Frequently Asked Questions
How do I keep my chicken coop from getting dusty in dry weather?
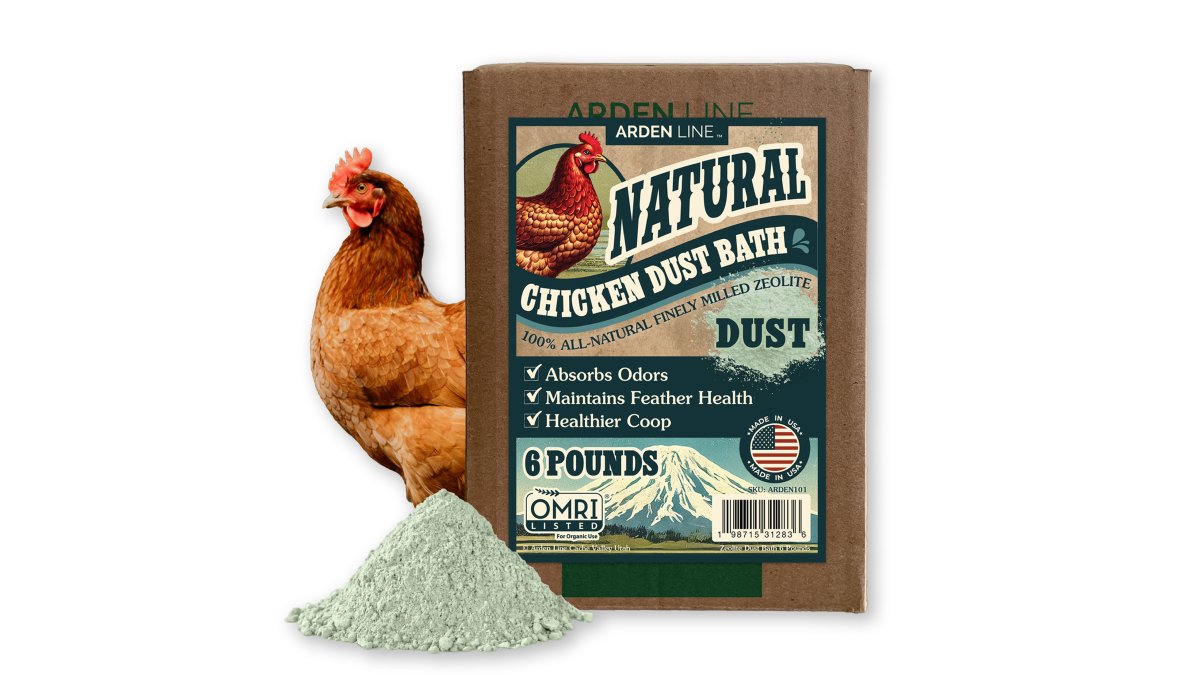
Start with airflow. Add cross-ventilation openings near the roofline so air moves through without drafting on the birds. Switch to bedding that holds moisture rather than crumbling, such as hemp or coarse wood shavings, and mist the floor lightly before you rake. A shallow tray of zeolite-based dust bath material also gives hens a designated spot to bathe instead of kicking dust into every corner of the coop.
Is dust in a chicken coop harmful to respiratory health?
Yes. Coop dust carries feather fragments, dried droppings, and airborne particulates that irritate a chicken's respiratory tract. In dry climates the particles stay suspended longer because there is little humidity to weigh them down. Breeds with small or rose combs and dense feathering, such as Wyandottes and Brahmas, tend to show symptoms first. Persistent sneezing, rattled breathing, or watery eyes mean it is time to reduce dust and improve air exchange.
Can natural minerals help settle dust in a chicken coop?
Minerals that absorb moisture and trap ammonia gas reduce the dust that would otherwise dry out and float. Zeolite, a porous volcanic mineral, is one option: sprinkle it over bedding, floors, and nesting boxes, then refresh it at each bedding change. It is fragrance-free and safe around birds. Pair it with good ventilation and a proper dust bath so hens have a controlled place to bathe rather than scattering dust across the whole coop.
What are the best floor materials to reduce dust in a coop?
A covered, solid floor with a moisture-holding bedding layer beats bare dirt in dry climates. Dirt floors crumble into fine powder as hens scratch, and that powder becomes airborne fast. Pine shavings, hemp hurd, or a deep litter system with regular turning keep the surface intact. Avoid sawdust and fine sand, which produce the smallest, most breathable particles. Whatever you choose, keep a 3 to 4 inch layer and top it up instead of stripping it completely.

Leave a comment
This site is protected by hCaptcha and the hCaptcha Privacy Policy and Terms of Service apply.